


Blade sharpness is the width of the cutting apex plus the angle behind it — not how it feels on your arm. A knife can shave hair and still fail on a rope, and a knife that feels dull on skin can slice cardboard all afternoon. Once you know which test measures which property, "sharp" stops being a feeling and becomes something you can read.
Sharpness is geometry: apex width at the very tip, and the angle supporting it.
This guide covers what sharpness actually is, the four tests worth using, what each one tells you about your edge, and how to fix the specific problem each test exposes. No mystery, no arm-hair rituals you cannot repeat.
What sharpness actually is
Every edge is a wedge that narrows to a line. Two numbers describe it:
- Apex width — how thin the very tip of the wedge is, measured in microns. This is what separates a dull edge from a sharp one at the microscopic level.
- Edge angle — the total included angle of the wedge, usually expressed as degrees per side (dps). This decides how long the apex survives once it starts meeting material.
A thin apex cuts with almost no pressure. A wide apex needs force to start a cut, and force is what makes a knife skid, slip, and chew instead of slice. That is the whole mechanical story. Everything else — steel, grit, technique — is a way of controlling those two numbers.
There is a second variable people miss: edge finish. A coarse, toothy edge grabs fibrous material like rope and tomato skin. A polished edge pushes cleanly through firm material like paper and wood but slides on fiber. Both can be equally "sharp" by apex width and behave completely differently in use. If your knife tests sharp but refuses to bite into a ripe tomato, the apex is fine and the finish is wrong.
The four tests worth using
Each test answers a different question. Use two or three together and you get a real diagnosis instead of a guess.
| Test | What it measures | What it misses |
|---|---|---|
| Printer paper, push cut away from your body | Apex width along the full edge — catches burrs and dull spots section by section | Edge angle and finish; thin paper flatters a toothy edge |
| Thumbnail drag (edge laid flat, light pressure, no sliding) | How much the apex bites — a quick read on toothiness | Anything about consistency; a burr also grabs |
| Rope or cardboard slice | Real-world cutting with the geometry and finish working together | Precision — a polished edge can fail here while being perfectly sharp |
| BESS score (edge on a dedicated test media) | A repeatable number in grams of force to cut | Nothing about durability; a fresh edge can score well and collapse in a day |
The paper test, done properly
Hold a sheet of ordinary printer paper by one corner and push the edge straight down through it, starting at the heel and working toward the tip in short sections. A clean push cut with no tearing means the apex is consistent along that stretch. Tearing in one spot and gliding in another is the signature of a partial burr or a wire edge that folded over.
Do not slice — slicing hides apex problems because the teeth of the edge do the work. Push cutting is the honest test.
The thumbnail test is a bite check, not a sharpness check
Lay the edge almost flat on a thumbnail and draw it back with almost no pressure. If it catches immediately, the apex has tooth. If it skates, the edge is either polished smooth or rounded over. This tells you which way to go next: a polished edge that skates is not dull, it is finished fine. A rounded edge that skates needs the stone, not the strop.
Rope and cardboard tell you about the whole system
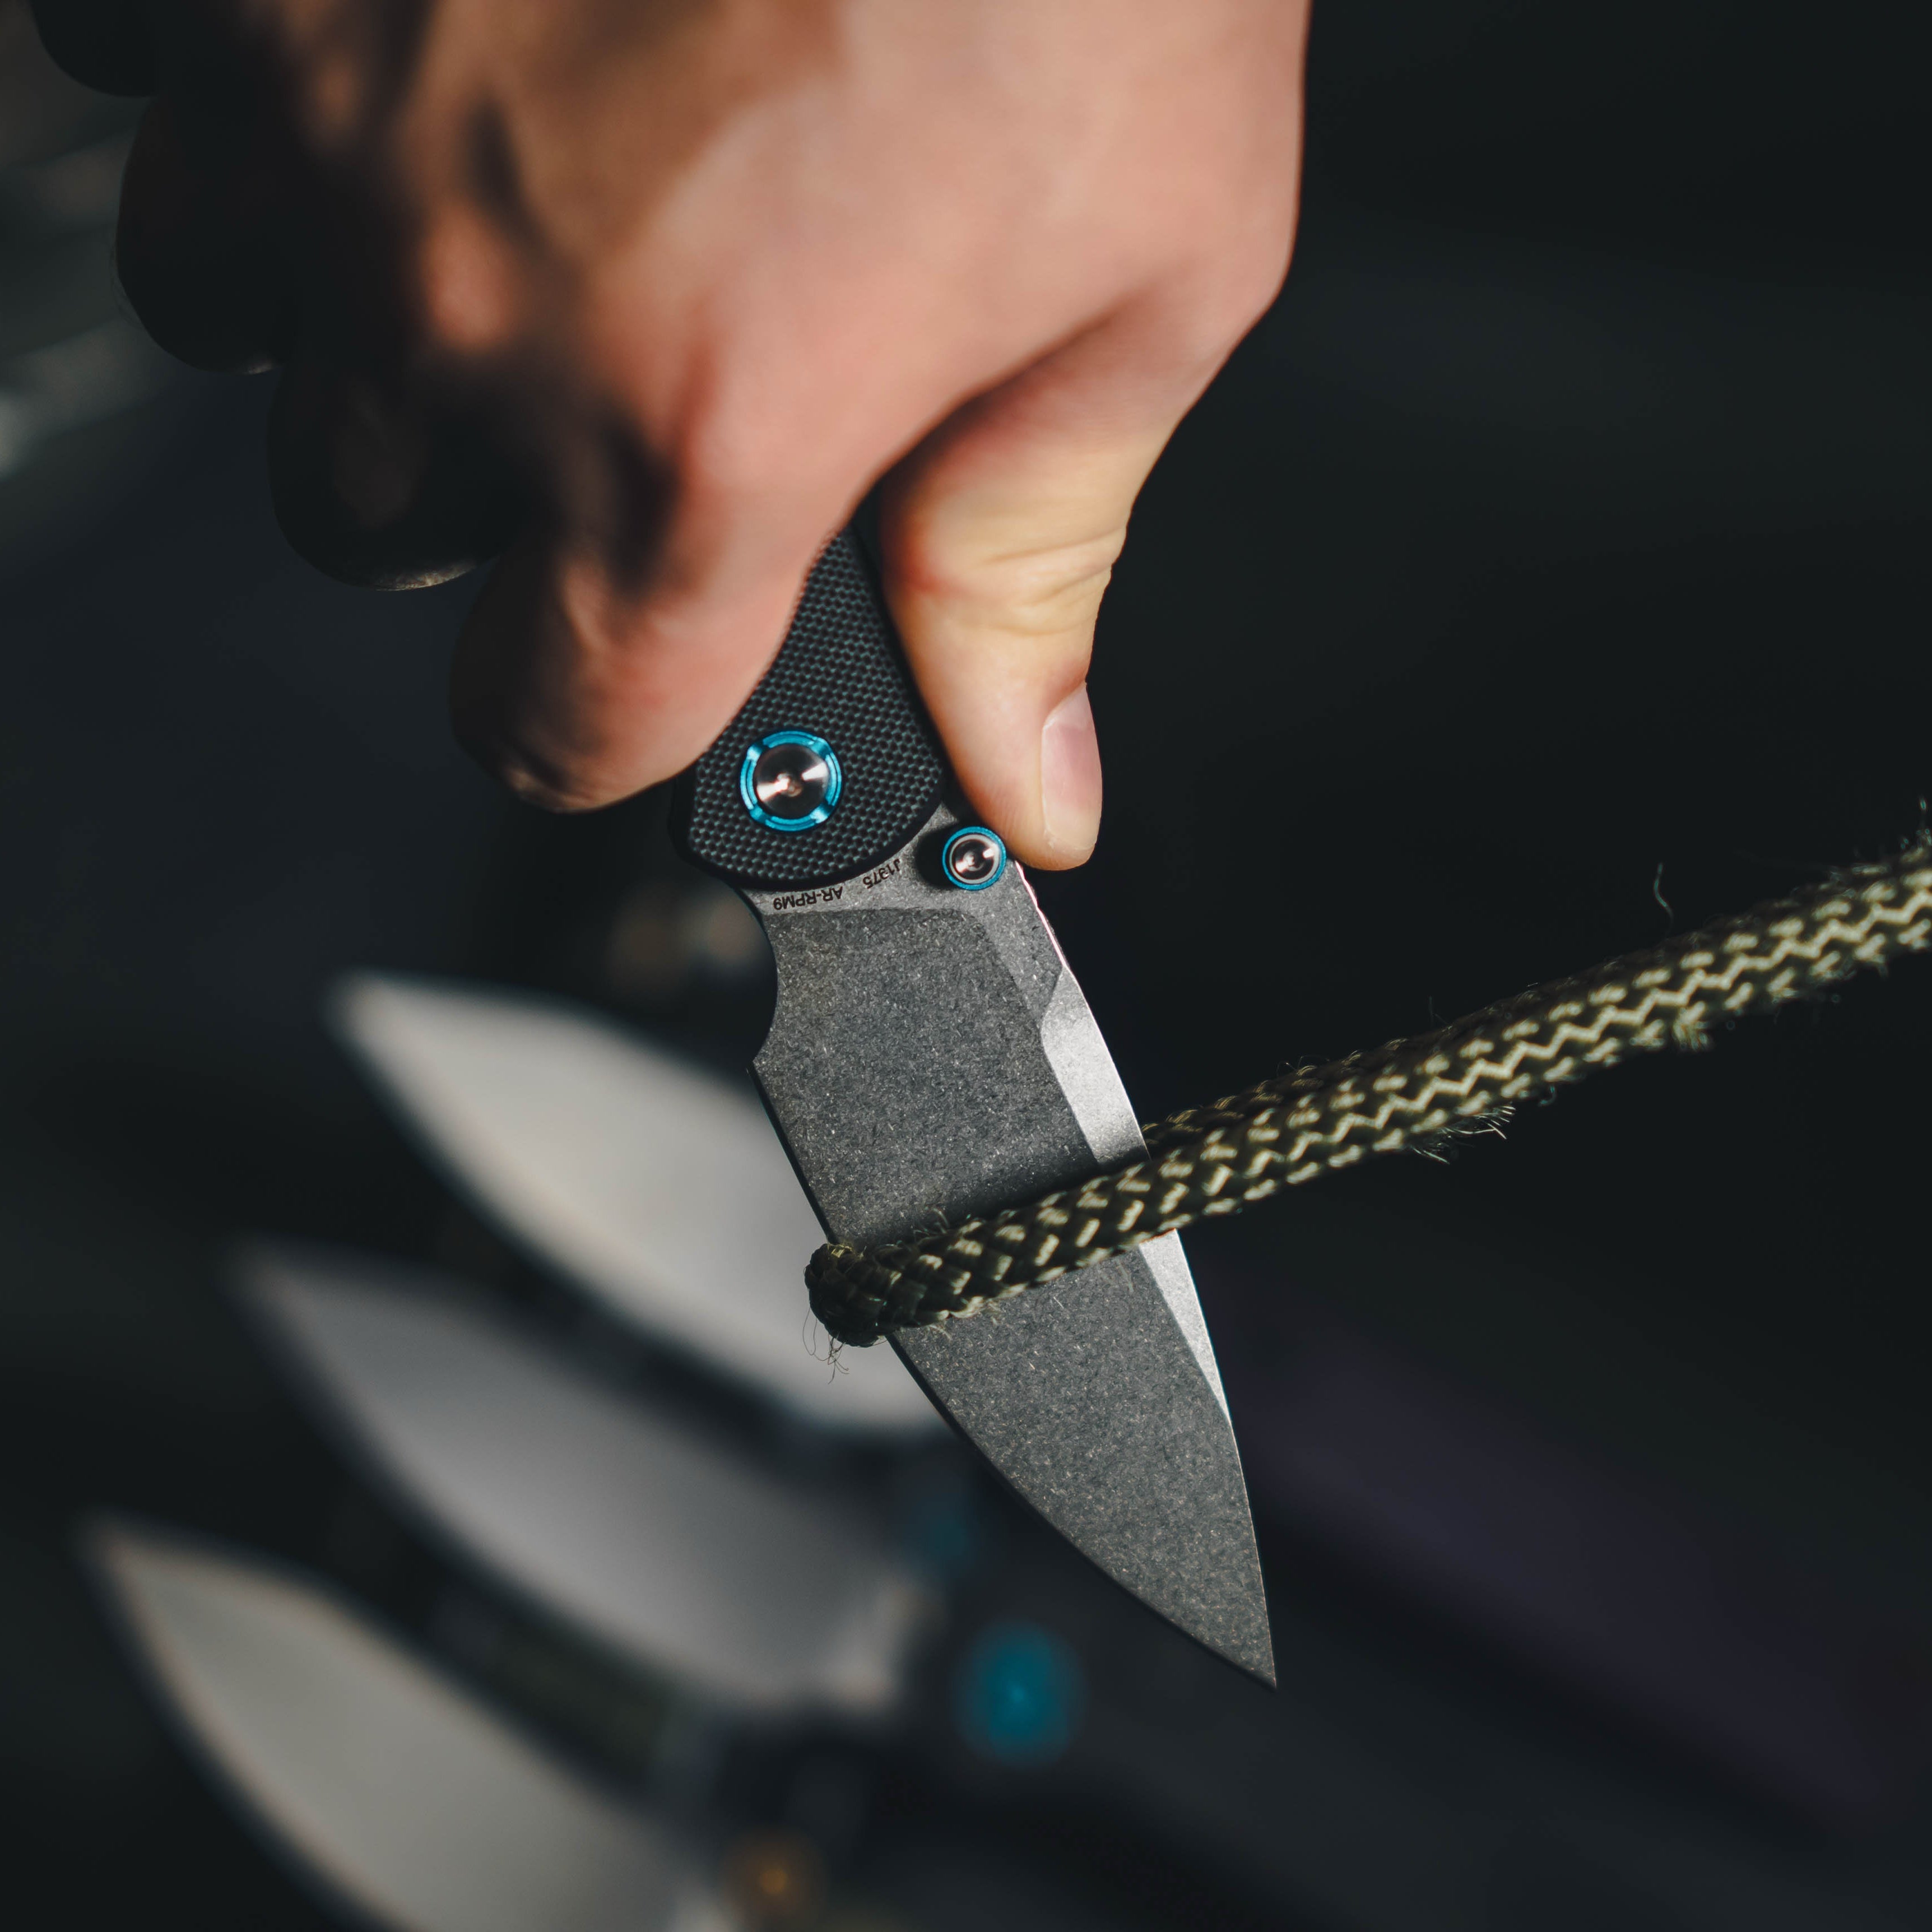
Ten clean slices through sisal rope or a few passes through corrugated cardboard expose the combination of apex, angle, and finish. If the knife glides through paper but stalls on rope, your edge is polished and your material is fibrous. If it bites rope and tears paper, the apex is toothy and slightly ragged — often exactly what a working knife should be.
Why shaving arm hair is a bad universal test
Arm hair is fine, dry, and springy. Almost any apex under about 30 microns will catch it, which means the test passes for a wide range of edges — including edges that will fold on the first hard cut. It is also inconsistent between people, and it says nothing about the sections of edge you did not touch.
Keep it if you like it as a sanity check. Do not use it as your only evidence that a knife is ready to work.
The burr is why your knife feels sharp and cuts badly
Sharpening pushes metal to the apex. If you stop too early on one side, that metal remains as a thin flap — a burr — bent over to one side. A burr is remarkably sharp and completely unreliable. It shaves, it catches a thumbnail, it slices paper, and then it folds over on the first real cut and the knife is dull again with no warning.
The fix is mechanical, not mystical:
- Work one side until you feel a consistent burr along the whole edge, heel to tip.
- Flip and do the same on the other side.
- Alternate light passes, decreasing pressure each round, until the burr is too small to feel.
- Finish with a few edge-leading strokes on a fine stone or a loaded strop to remove the last of it.
If a knife tests sharp after sharpening and dulls within a day of light use, a leftover burr is the first thing to suspect — well before steel quality.
Angle: the number that decides how long sharp lasts
A 15 dps edge (30 degrees included) is thin, slices beautifully, and loses its apex quickly on hard material. A 20 dps edge (40 degrees included) is the common factory compromise for folding knives. A 25 dps edge is a working edge — noticeably less eager but far more durable.
For most everyday carry, 17–20 dps per side is the sweet spot. If you cut cardboard and rope daily, bias toward 20. If your knife mostly opens mail and packages, 15–17 gives you a noticeably better feel for the same effort. Pick one and stay consistent; an edge that wanders between angles sharpens slowly and never quite settles.
Steel changes the trade-off but does not remove it. High-vanadium powder steels like CPM S35VN and CPM S90V hold a thin edge longer because their carbides resist abrasion. Simpler stainless like 14C28N and N690 takes a very fine edge quickly and is forgiving to sharpen, which matters if you maintain your own knives. You can see the spread across our blade material collection — the S90V Dark Wing and the 14C28N Crag are built for different maintenance habits, not different sharpness.
Reading your results like a diagnostic
Put the tests together and the symptom points at the cause:
| Symptom | Likely cause | Fix |
|---|---|---|
| Shaves but tears paper | Burr or ragged apex | Light alternating passes, then strop |
| Clean paper push cut, stalls on rope | Over-polished edge | Drop to a coarser finish, 600–1000 grit |
| Bites on one section only | Inconsistent angle or a low spot | Mark the bevel and check contact along the edge |
| Sharp after sharpening, dull in a day | Wire edge folding, or too thin an angle for the work | Remove the burr fully, raise angle 2 dps |
| Never gets sharp no matter the grit | Angle too high for the blade's geometry, or a rounded shoulder | Reset the bevel at a lower angle, then micro-bevel |
Two of these are the same problem wearing different clothes: a burr. If you only take one habit from this article, make it the alternating light passes at the end of every sharpening session. It removes more bad edges than any stone upgrade.
Maintaining sharpness between sharpening sessions
Sharpening removes steel. Stropping realigns and polishes without removing much, which is why it should be your default maintenance and sharpening your occasional correction.
- After a normal day of use: 5–10 edge-leading strokes per side on a leather strop with a fine compound. This restores bite without touching the bevel geometry.
- When stropping stops bringing the edge back: a few passes on a fine stone, then strop again. That is a full touch-up, not a reprofile.
- When the bevel looks wide and the edge reflects light along its length: the apex is rounded or worn flat. Time for a real sharpening session at your chosen angle.
Light reflecting off the apex is the most reliable dull signal there is, and it costs nothing to check. Hold the edge under a lamp and look straight at the very line of it. A sharp apex disappears; a dull one shows a bright hairline.
How steel finishes affect what "sharp" feels like
Higher carbide volume gives you a more aggressive, longer-lasting tooth at a given grit, which is why a 1000-grit edge on S35VN feels toothier than the same grit on a low-alloy stainless. That is not a defect. For rope, garden twine, and strapping, that tooth is the reason the knife keeps cutting after the polished edge has given up.
So when someone says a steel "takes a better edge," they usually mean it takes a finer, more uniform apex with less effort — a property of the alloy and the heat treat, not a moral ranking. Match the finish to the job and most steel arguments disappear.
What to do next
Test your current edge with paper and rope before you touch a stone. Write down which one fails. That single note tells you whether you need to remove a burr, change your finish, or adjust your angle — and it will save you from grinding away steel chasing a problem that lives in your technique.
If you want a knife that arrives with a clean, consistent factory bevel to practice on, the folding knives collection covers everything from 14C28N workhorses to CPM S90V pieces, and the S35VN collection is a good place to see how a premium powder steel behaves on a thin edge. For the geometry side of the conversation, Science of Sharp has the microscope work that backs up everything above.

Leave a comment
This site is protected by hCaptcha and the hCaptcha Privacy Policy and Terms of Service apply.