

Serrated blades cut through rope, webbing, and bread-like materials better than any plain edge, but they intimidate most owners when the edge goes dull. The good news: sharpening a serrated knife is not difficult. It just needs the right tool and a different motion than a plain edge. This guide walks through exactly how to do it.
Ceramic rod technique for serrated edges
How a Serrated Edge Works
A serrated edge is made of two parts: a flat back side and a series of scalloped bevels, or gullets, on the cutting side. Each scallop works like a tiny curved blade. When you sharpen, the work happens on the bevel side of each scallop — the flat side only needs a light deburring pass. Understanding that split is the whole secret. For a deeper look at how serration is used across tools and blades, see Wikipedia's article on serration.
What You Need
- A tapered ceramic sharpening rod — the single most effective tool for serrations
- A round or oval file as an alternative for very damaged edges
- A marker pen to see exactly where you are removing steel
- A strop or fine stone for the flat back side
Match the rod to the scallop size: the rod should fit into each gullet with the taper touching the bevel. Ceramic rods are ideal because they sharpen without gouging the softer scallop geometry.
Step-by-Step: Sharpening Each Scallop
- Mark every scallop on the bevel side with a marker pen.
- Hold the rod at the same angle as the existing bevel — usually around 15 to 20 degrees from the blade face. Match the factory angle rather than inventing a new one.
- Work each scallop one at a time with a few short strokes, following the curve of the gullet. Small figure-eight or push strokes work best.
- Stop when the marker ink is worn away at the edge of that scallop — that shows the bevel has been cut to the edge.
- Repeat for every scallop. Go slowly; each one takes only seconds once you find the angle.
- Finish with two or three light passes on the flat back side to remove the burr, using a fine stone or strop.
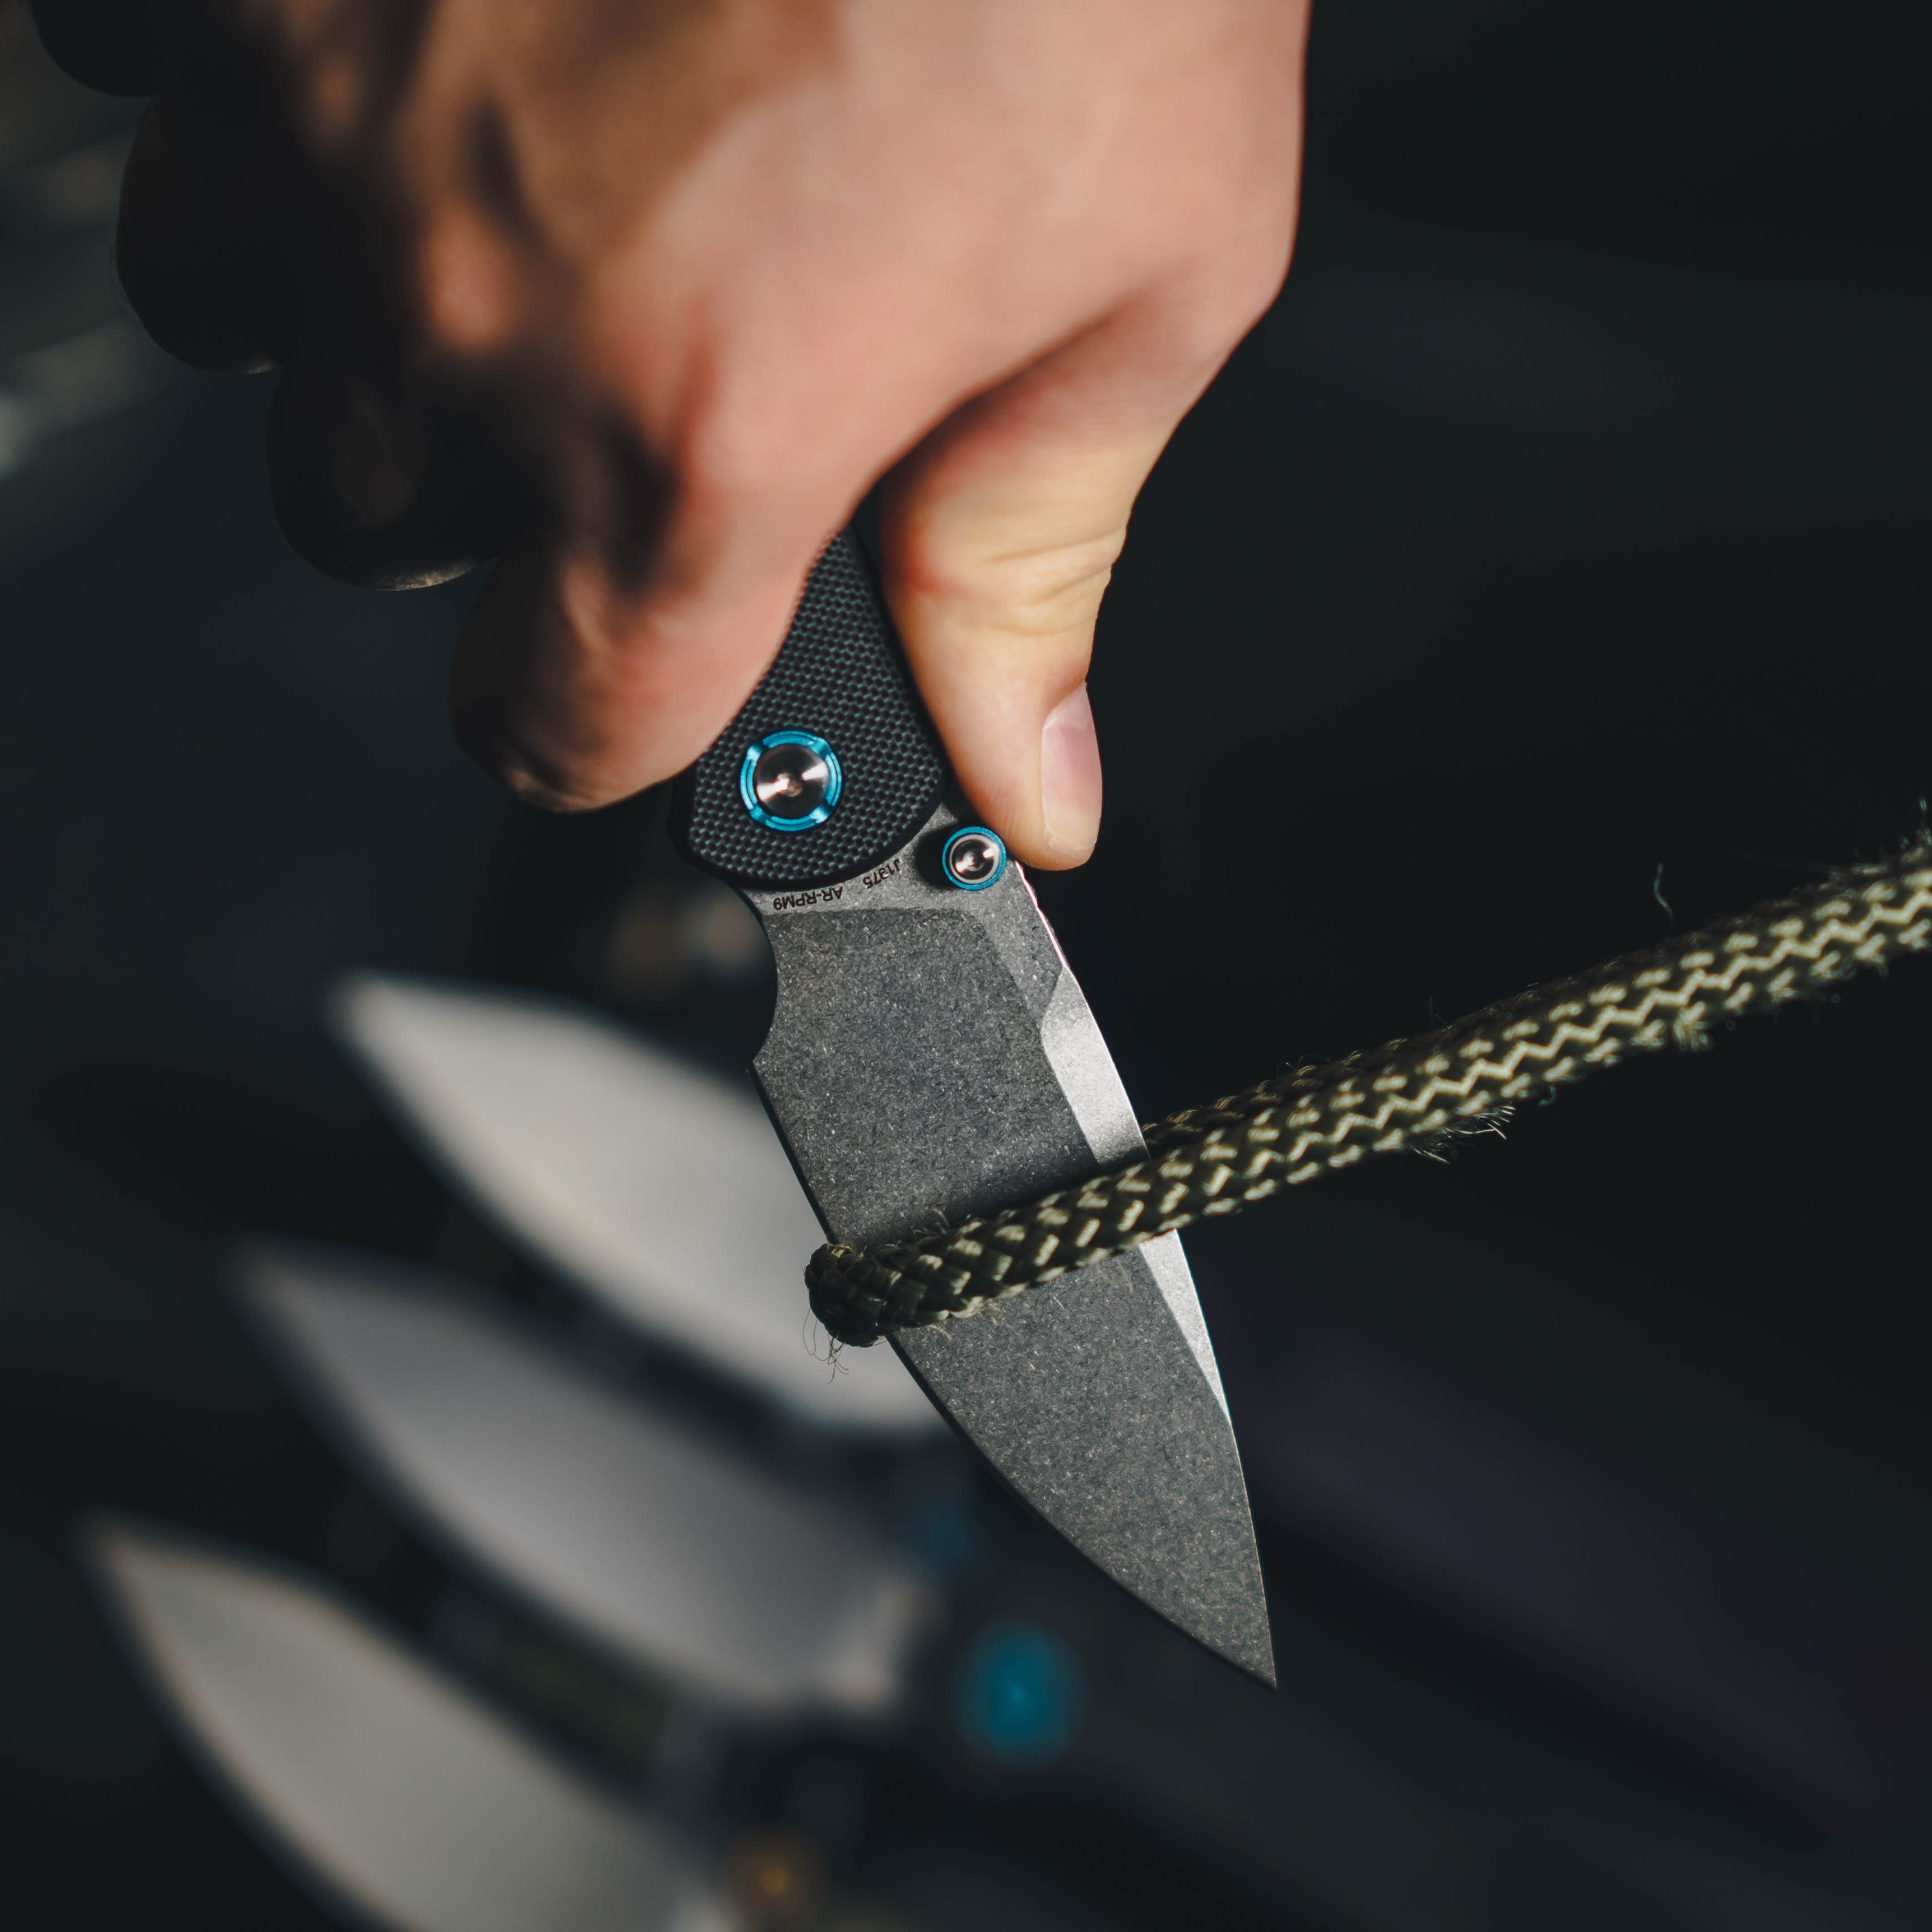
- Wipe the blade clean and test on a piece of paper or rope.
Maintenance Between Sharpenings
- Use a ceramic rod for a quick touch-up the moment the edge feels dull — catching it early saves real sharpening sessions
- Clean the gullets after cutting sticky or wet materials to keep the edge effective
- Oil the blade lightly after cleaning to protect the edge and pivot area
- If the serrations have flat spots or the edge is badly rolled, switch to a round file before the ceramic rod
Common Mistakes to Avoid
- Sharpening the flat back side as if it were a plain edge — that ruins the geometry
- Using a flat stone on the scallops — it cannot reach the bevels
- Guessing a steep angle — always match the existing bevel angle
- Honing every scallop with different angles — keep each gullet consistent
When to Let a Professional Handle It
If the serrations are badly damaged, chipped, or have been flattened by years of improper sharpening, a professional with a serration file set can restore the geometry. That said, routine maintenance with a ceramic rod is well within reach for any owner. A serrated edge that is touched up regularly needs a full sharpening far less often than you might think.
Final Thoughts
Sharpening a serrated knife comes down to three ideas: work each scallop individually, match the existing angle, and deburr the flat side last. With a tapered ceramic rod and ten minutes, your serrated EDC knife will cut like new again.
Keep every edge in your rotation ready — explore the Artisan Cutlery catalog for premium EDC knives built for reliable everyday carry.

Leave a comment
This site is protected by hCaptcha and the hCaptcha Privacy Policy and Terms of Service apply.