
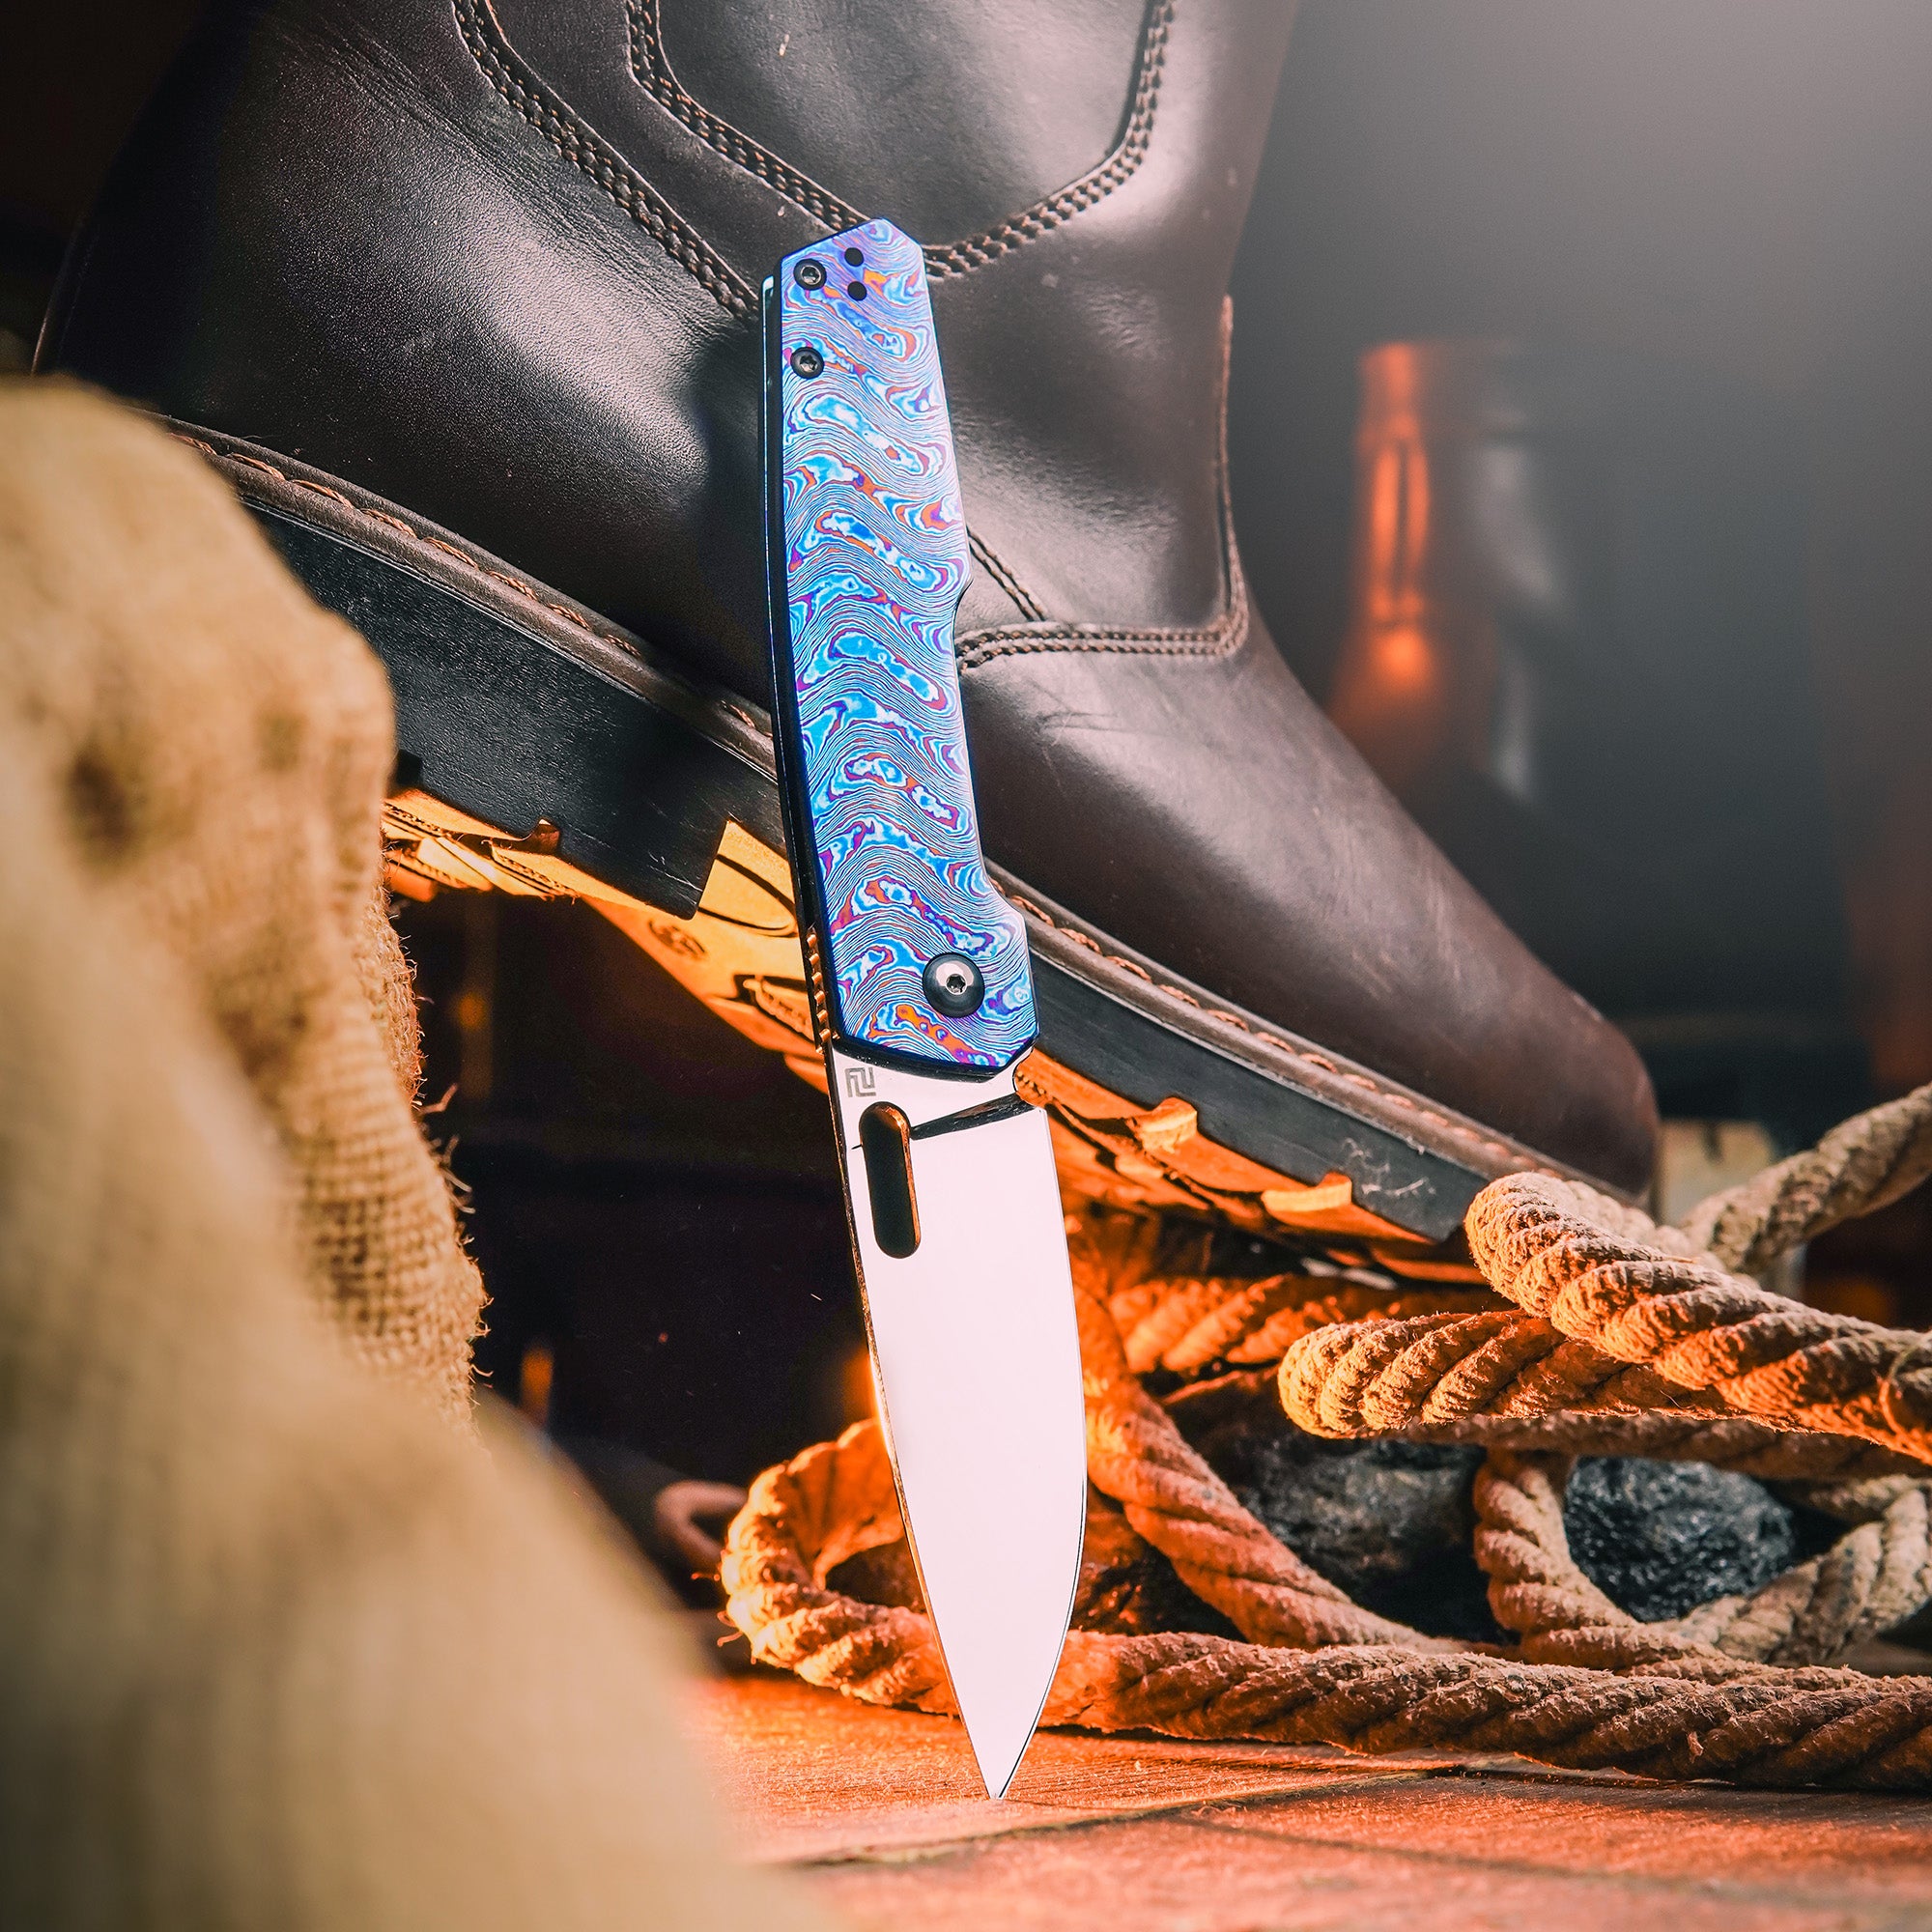
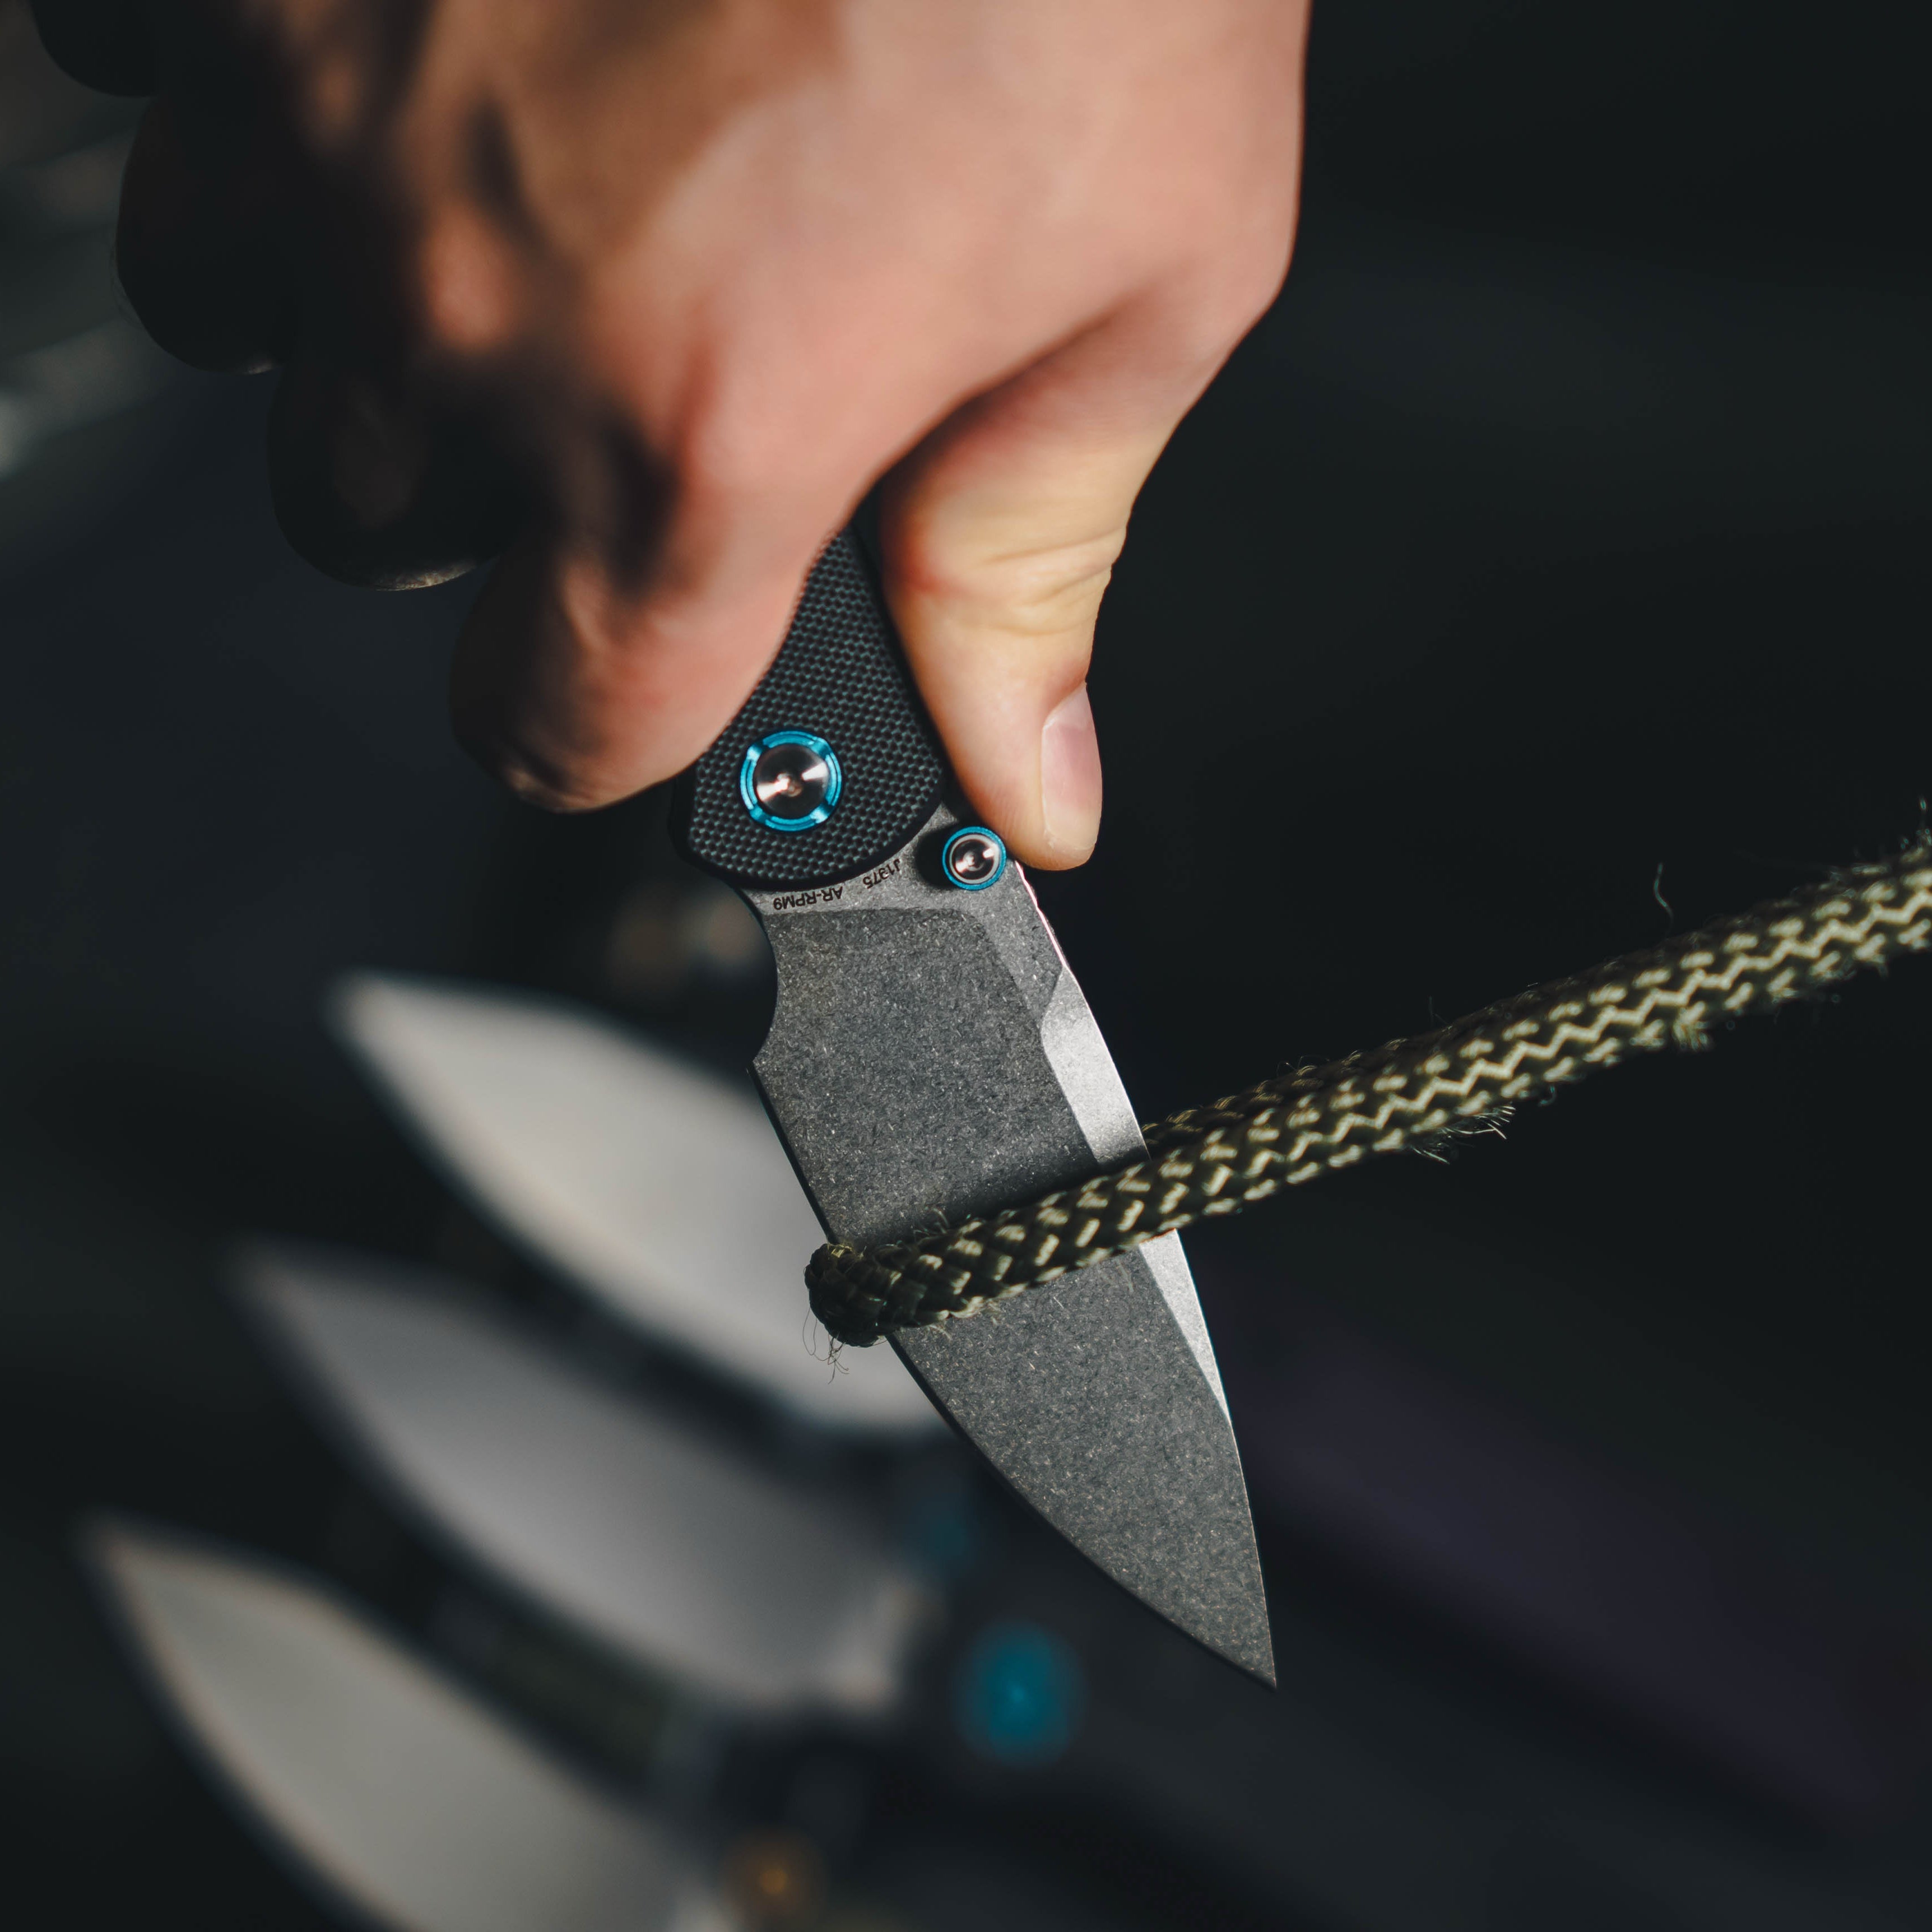
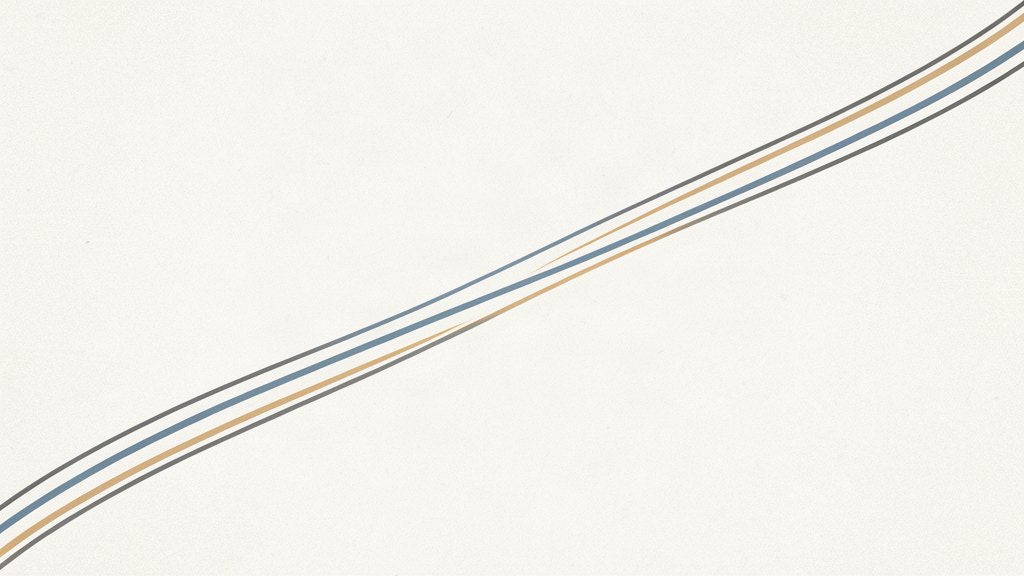
A recurve blade is an edge that curves back inward near the handle and then sweeps outward again toward the tip, so the cutting line forms a shallow S. The payoff is a long, belly-heavy edge in a short blade that keeps material trapped in the curve during a pull cut. The cost is a blade that is fussier to sharpen and noticeably worse at straight push cutting.
Two curves, opposite directions: the dip holds the material, the belly does the cutting.
That one sentence covers most of the buying decision. What follows is where the shape genuinely helps, where it quietly gets in the way, and how to tell a properly executed recurve from one that only looks like one in a product photo.
The geometry, in plain terms
Start at the heel of the edge, the end closest to the handle. On a conventional drop point the edge runs forward in one continuous, gentle arc. On a recurve it drops into a concave section first, then rises into a convex belly before tapering to the tip. Two curves, opposite directions, meeting somewhere in the middle of the blade.
The concave section is the recurve proper. The convex section is the belly, and it is the part that does the work in a slicing cut. Where those two meet is sometimes called the transition point, and its position matters more than most specifications sheets admit: a recurve that starts too far forward leaves a long flat run of edge that behaves like an ordinary blade, and a recurve that starts too far back gives you a deep hook near the handle and almost no belly.
The blade is defined by its edge and the grind that forms it. A recurve changes the edge line, not the grind. Two knives with identical steel, identical thickness and identical bevel angles can cut very differently because their edge lines differ, which is why shape is worth more attention than most buyers give it.
Recurve, belly, and the words people mix up
Three terms get used loosely and they are not the same thing:
- The belly is the convex arc of edge below the tip. Every knife with a curved edge has one, including a plain drop point.
- The recurve is the concave section behind that belly. It is the feature that makes a blade a recurve.
- The heel is the rear of the edge, next to the plunge line. On a strong recurve the heel sits higher than the transition point, which is what creates the dip.
A knife can have a pronounced belly and no recurve at all. It cannot have a recurve and no belly, because the belly is what the recurve feeds material into.
How much recurve is a design decision
Severity ranges from barely perceptible to a deep, almost hawk-like hook. A shallow recurve is essentially a styling cue with mild slicing benefit. A deep one changes how the knife is used and how it must be maintained. Most production knives in this shape sit somewhere in the middle, shallow enough to sharpen on a flat stone with care, deep enough that you can feel the difference on a length of rope.
What a recurve is genuinely good at
The shape exists because of one behaviour: material that enters the concave section stays there while the edge travels through it. Pull a recurve through a rope and the strand is held in the dip, loaded against the belly, and severed with less pressure than a straight edge of the same length needs. That is not marketing, it is a consequence of where the force is concentrated.
Practically, that translates into a handful of jobs:
- Rope, cord and line. The single best case. Climbing rope, paracord, twine, netting and fishing line all sit in the curve instead of sliding forward under the edge.
- Vines, brambles and green growth. Thin, springy material that a straight edge pushes away rather than cuts.
- Hide and game processing. Long pull cuts across a curved surface, where the belly keeps contact and the dip keeps the material from slipping off the blade.
- Harvest and garden work. Stems and stalks behave like rope: they resist a straight push and yield to a draw.
- Cardboard and webbing. Not glamorous, but a recurve breaks down a box with fewer passes because more of the edge is in contact through the stroke.
The other benefit is more subtle. On a short blade, a recurve packs a longer working edge into the same overall length, because the edge line travels further than a straight taper would. A 7.6 cm (3 in) recurve can cut like a longer drop point in a draw cut while still carrying like a small knife.
Where the shape works against you
Every one of those advantages is paid for somewhere, and the bill arrives in three places.
Sharpening on a flat stone
This is the real cost. A flat stone contacts a concave edge only at the two high points, so a full-length pass removes steel from the belly and the heel while leaving the middle of the recurve untouched. Do that for a few years and the recurve slowly disappears, flattened into a straight line by well-intentioned maintenance. Repairing it means grinding the middle down to match, which shortens blade life.
Push cutting and carving
A recurve is a poor push cutter. Straight-down cuts concentrate force on a single point of edge; a curved edge spreads it across an arc, so the same hand pressure produces a shallower cut. For whittling, notching, cutting a clean square corner in leather, or shaving a flat surface, a straight or gently curved edge is simply better.
Food preparation
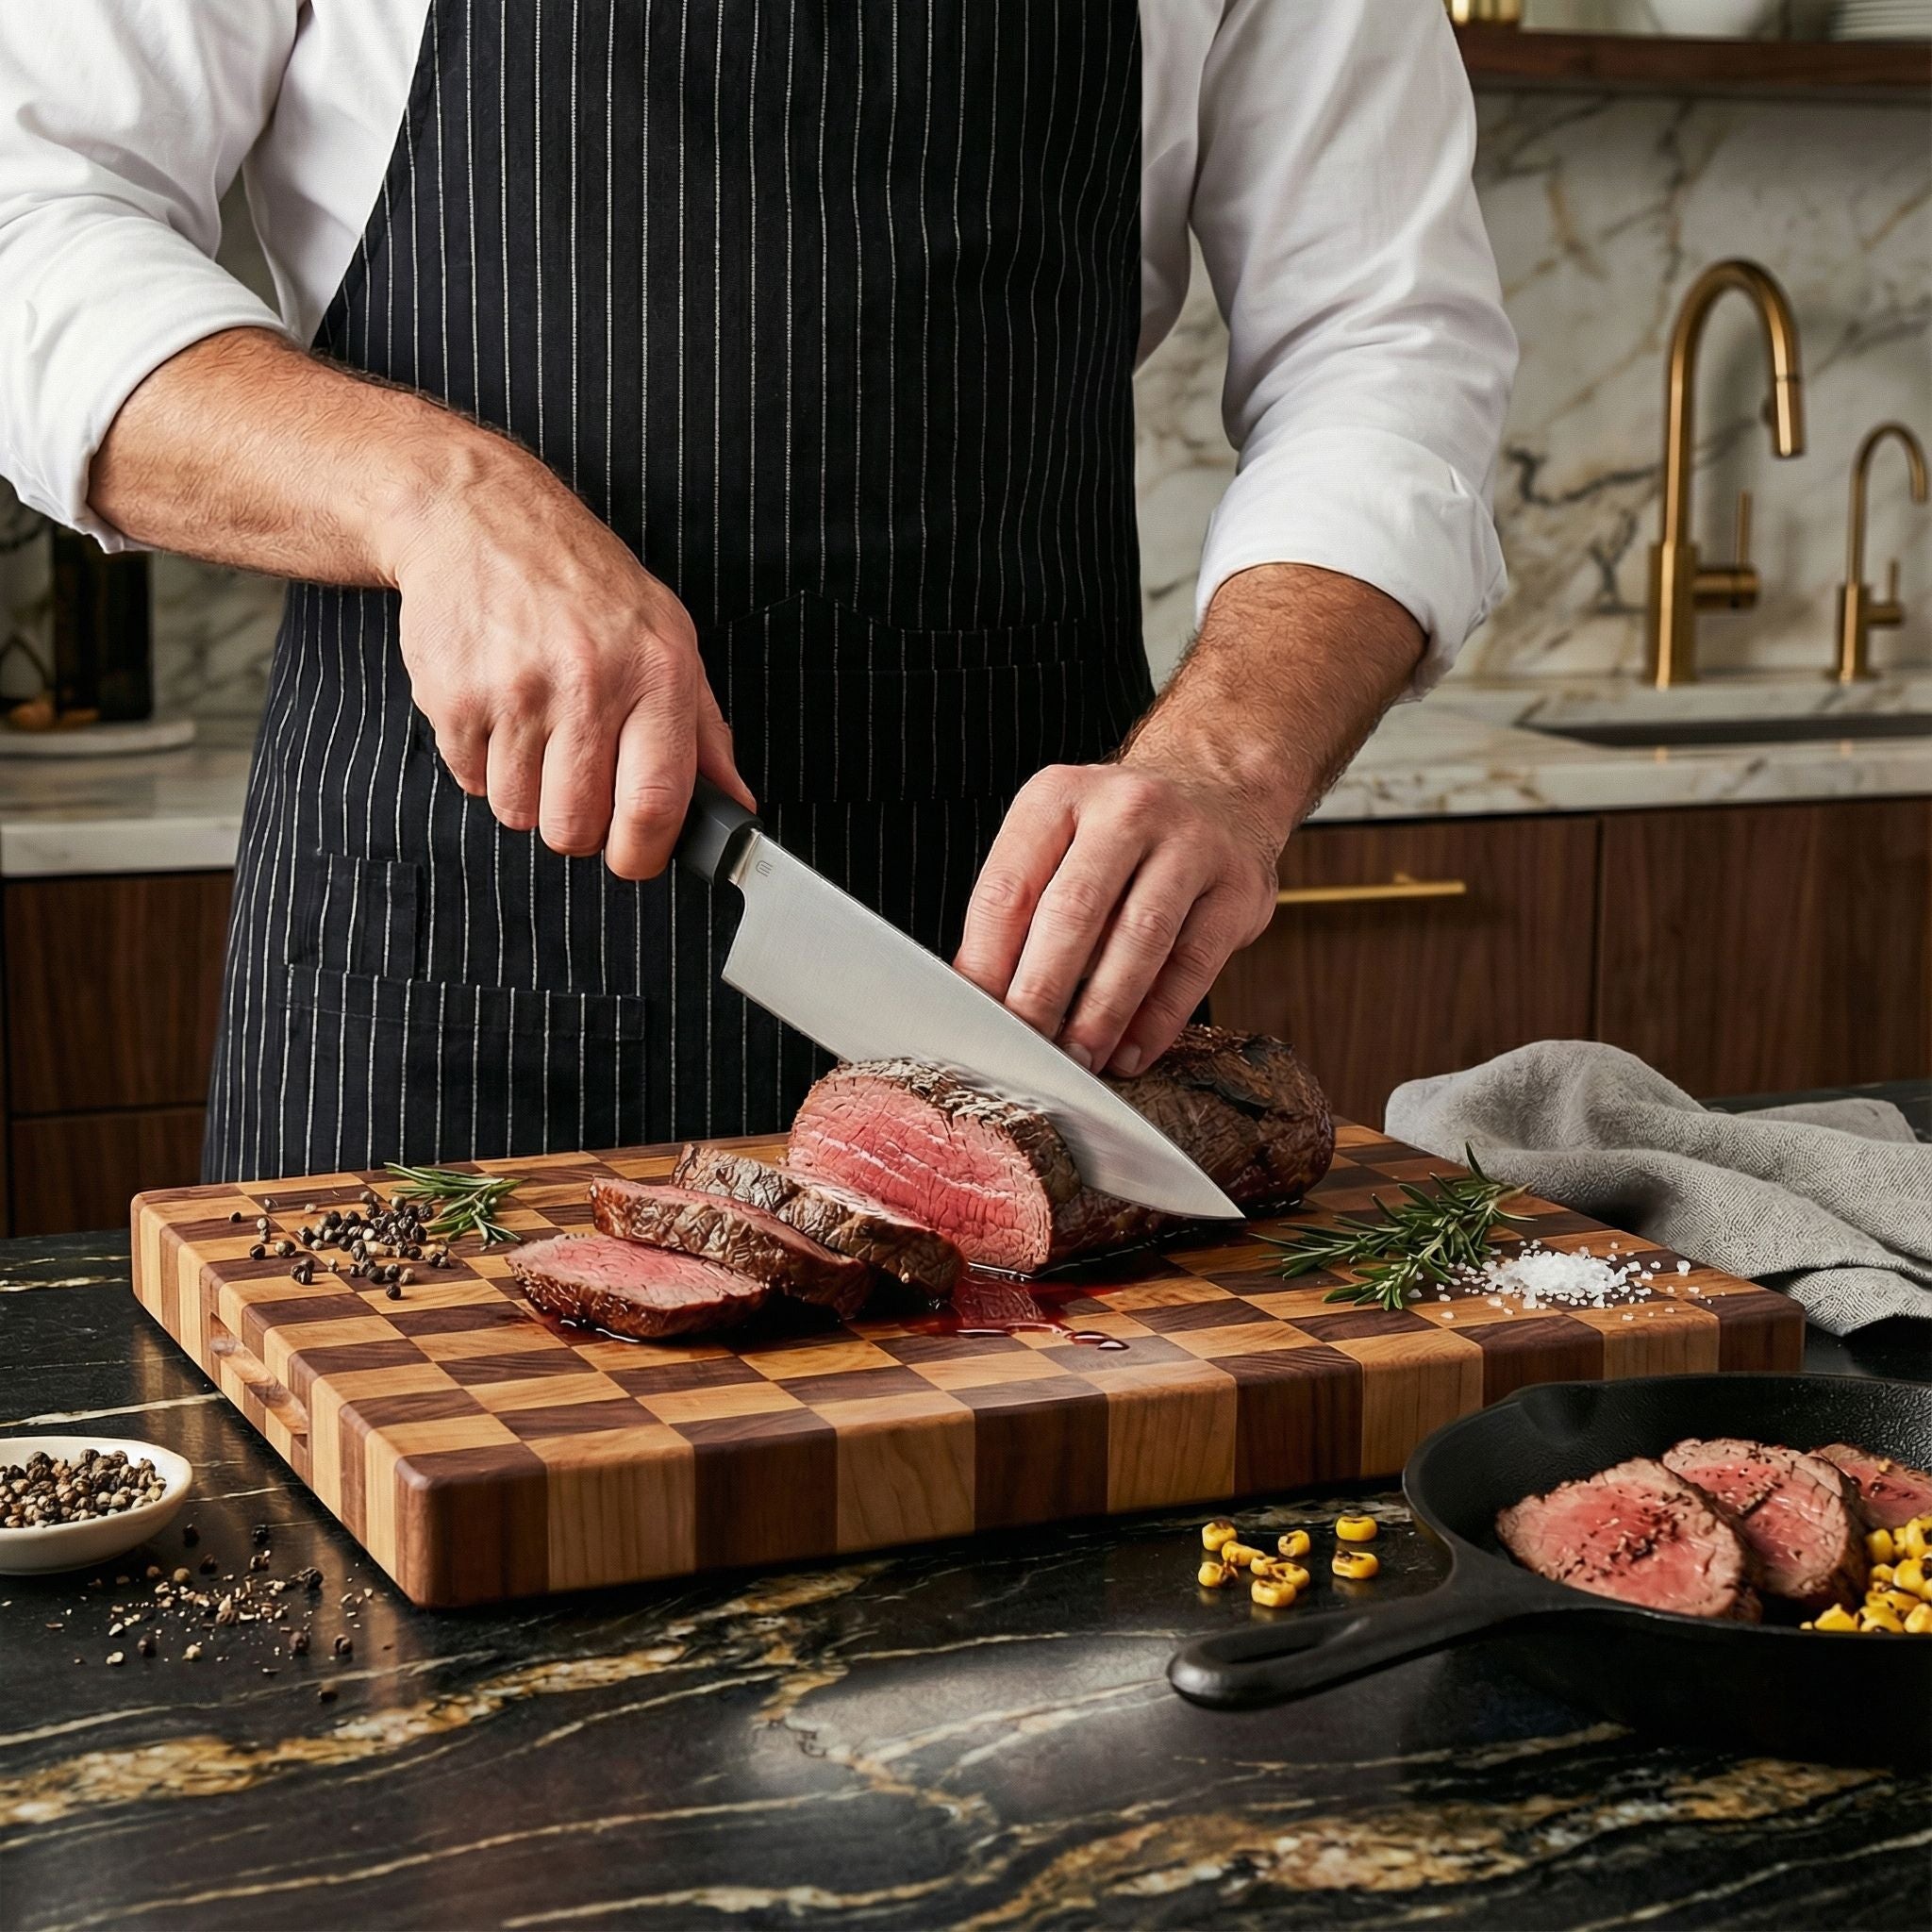
Rocking through herbs or garlic on a board wants a continuous curve that stays in contact. A recurve lifts away from the board in the middle of the stroke, so the cut stalls and the material gets crushed before it separates. It is not a kitchen shape, and no amount of technique fixes that.
There is also a smaller annoyance: a deep recurve makes the tip harder to control for fine work, because the concave section changes the angle between edge and material right where you want precision.
The trade-offs side by side
| Task | Recurve | Drop point | Straight or sheepsfoot edge |
|---|---|---|---|
| Slicing rope and cord | Best in class | Good | Fair |
| Push cutting and carving | Weak | Good | Best in class |
| Skinning and game work | Strong | Strong | Poor |
| Sharpening on a flat stone | Hardest | Easy | Easiest |
| Controlled tip work | Fair | Best in class | Good |
Read that table as a description of priorities rather than a ranking. A recurve is not better or worse than a drop point in the abstract; it is better at the jobs it was shaped for.
How to sharpen a recurve without flattening it
Two methods work, and most people who own a recurve should learn both.
Rods and crock sticks for the concave section
A round ceramic or diamond rod lets you follow the curve. Work the rod along the concave section in short, overlapping strokes at your chosen angle, then finish the belly and heel on a flat surface. Keep the pressure light: the rod contacts a small area, so a heavy hand digs a groove into the edge instead of refining it.
Stones, worked in sections
On a flat stone, sharpen the heel and the belly as two separate zones rather than trying to sweep through the whole edge in one pass. Roll the blade gently as you move through the dip so the bevel stays in contact, and accept that the middle of the recurve will need occasional attention with a rod to stay even. Check progress with a marker pen on the bevel: colour that survives the stone is steel you did not reach.
Finish on a strop
A loaded leather strop reaches into a concave edge far better than any flat stone and removes almost no steel. For a recurve in daily use, regular stropping is what keeps the blade sharp enough that the stone only comes out a few times a year, which is also the best protection against slowly erasing the shape you paid for.
Sharpening stones are graded by grit and by how quickly they cut; the practical sequence is unchanged by blade shape, only the technique is.
What separates a good recurve from a bad one
- Where the dip sits. It should begin close to the plunge line and hand over to the belly around the middle of the blade. A dip placed at the very tip is a styling exercise.
- How deep it is. A shallow, flowing recurve is usable and maintainable. A deep hook looks dramatic and is a maintenance project.
- Grind thinness behind the edge. A recurve on a thick, obtuse grind will not slice well no matter how the edge line curves. Shape only helps if the steel behind the edge is thin enough to enter the material.
- Whether the heel is usable. On some designs the heel curves so high that the rear of the edge never touches a cutting surface. That is lost edge.
- Handle relationship. The dip should land under the part of the handle your hand naturally grips during a draw cut, so the force goes into the material rather than into your wrist.
Who should carry one
A recurve earns its keep for people whose cutting is mostly pulling: outdoor and camp use, farm and ranch work, rope and line handling, hunting, and general everyday carry where the day's jobs are cord, cardboard, tape and packaging. If most of your cuts are one long draw through flexible material, the shape is doing you a favour.
Skip it if you carve, cook, do leatherwork, or own exactly one flat stone and no rods. Those users get more from a drop point or a straight edge, and they will keep the knife sharper with less effort.
In our own range, the folding knives collection carries the shapes that suit everyday draw cutting, the fixed blade range covers the heavier outdoor work where a longer belly pays, and knife types is the quickest way to compare edge shapes side by side before deciding. If the knife is going into a field kit rather than a pocket, outdoor season collects the models built for that use.
Bottom line
A recurve is a specialist shape that has been sold as a universal one. Used for rope, line, hide and green growth, it outperforms straighter edges of the same length. Used for pushing, carving and board work, it underperforms them while asking more of your sharpening routine. Buy it for the cuts you actually make, and keep a rod and a strop alongside the stone.


Leave a comment
This site is protected by hCaptcha and the hCaptcha Privacy Policy and Terms of Service apply.