

Every sharpening stone you can buy carries a number, and that number is the single most useful piece of information on the label. It tells you how aggressively the stone cuts, what job it is suited to, and where it belongs in a progression. Get the sequence right and sharpening becomes a predictable five-minute routine. Get it wrong and you will either spend an hour fighting a dull edge on a stone that cannot remove enough steel, or ruin a good edge by jumping straight to a finishing stone. This guide explains what grit actually measures, what each range of grit does to a knife edge, and how to assemble a progression that fits the knives you own.
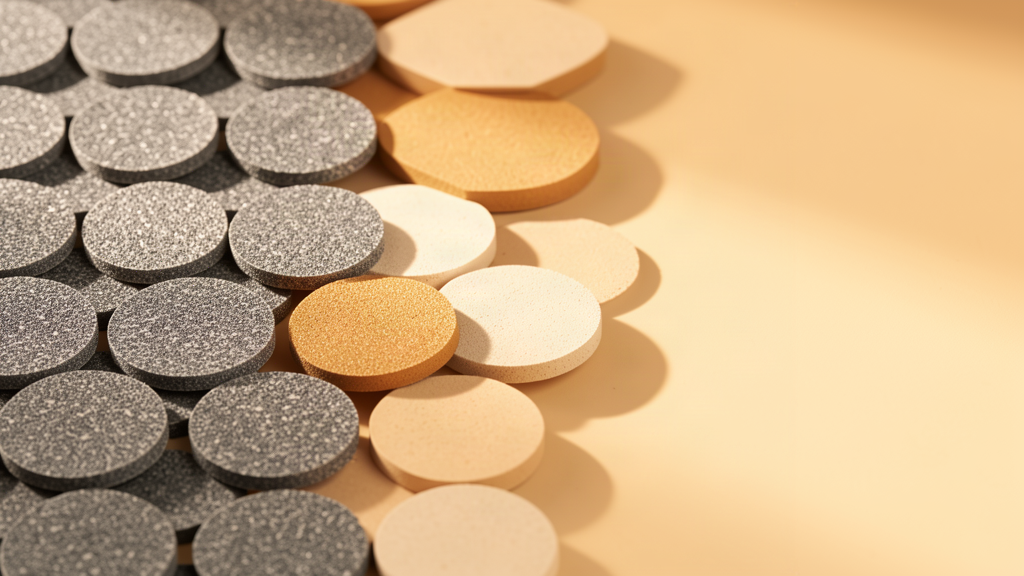
Coarse to fine: each grit step removes the scratch pattern left by the one before it.
What a Grit Number Actually Measures
A sharpening stone is an abrasive held in a binder. The grit number refers to the size of the abrasive particles: a higher number means smaller particles and a finer finish, while a lower number means larger particles that cut faster and leave deeper scratches. The ranges are broad — abrasive particle sizes run from roughly 2 mm at the very coarse end down to below one micron at the ultrafine end — which is why a 240 grit stone and an 8000 grit stone behave like completely different tools even though both are described as sharpening stones.
There is a second property worth knowing: stone grade. Whetstones are graded by the density and size of the abrasive particles in the binder, and the same grit number from two different manufacturers can feel noticeably different because the stone's hardness and binder change how quickly it releases fresh abrasive and how fast it wears. Whetstones wear with use, typically dishing in the middle, which is why flattening a stone with a leveling plate or abrasive paper is part of long-term ownership rather than an optional extra.
One caution before comparing numbers across brands: grit standards are not universal. The ANSI/CAMI scale is common in the United States, the FEPA or P-grade scale is common in Europe, JIS grades dominate in Japan, and some manufacturers simply publish a micron figure. Descriptive labels like coarse, medium, and fine are not regulated at all and can mean different things from different makers. When you compare two stones, compare the particle size or the manufacturer's own progression chart rather than assuming the numbers are interchangeable.
The Four Working Ranges
Knife sharpening broadly uses four ranges. The exact numbers that sit in each band vary with the standard and the brand, so treat the table below as a map of jobs rather than a universal chart.
| Range | Job it does | When you need it |
|---|---|---|
| Coarse | Removes metal quickly; sets a new bevel or repairs damage | Chips, rolled tips, reprofiling to a new angle, very dull edges |
| Medium | Refines the bevel and brings the edge to a clean apex | Every normal sharpening session |
| Fine | Polishes the apex and refines the scratch pattern | Optional finish after the medium stone |
| Ultrafine / strop | Removes the last of the burr and polishes the very apex | Enthusiast finishing, and for some steels only |
Coarse Stones: Repair Work and Angle Changes
A coarse stone is a metal removal tool. Its purpose is to establish geometry, not to produce a finished edge. If your knife has a visible chip, a rolled or blunted tip, or you want to change the bevel angle on a knife that was sharpened at something steeper than you prefer, this is the range that does it.
Because it removes steel quickly, coarse work is also where careless sharpening does the most damage. Long sessions on a coarse stone can thin a blade more than intended and leave a scratch pattern that takes real effort to polish out. Use it deliberately, check progress often, and stop as soon as the bevel geometry is where you want it. If your knives are in good shape and you sharpen regularly, you may never need this range at all.
Medium Stones: The Workhorse
If you only own one stone, it should be a medium grit. This is the range where the actual edge gets made: you grind one side until a burr forms along the full length of the edge, flip and repeat, then work on removing that burr. The burr is the tell that the two bevels have actually met at the apex — the point at which the knife becomes sharp.
The burr is also the single most misunderstood part of sharpening. It is a thin, weak lip of metal that forms as the abrasive pushes steel past the apex, and it will fold over if you keep grinding rather than switching sides and refining. If your knife feels sharp off the stone and then dulls within a few cuts, the burr is usually the explanation. Science of Sharp has written extensively on burr formation and removal, including a useful piece on common misconceptions about knife burrs and a deeper series on what a burr actually is at a microscopic level.
Fine Stones: Refining the Apex
A fine stone does not make an edge sharp — the medium stone already did that. What a fine stone does is refine the apex and reduce the depth of the scratches behind it. The practical effect is an edge that cuts with less resistance in slicing tasks and feels smoother on push cuts, and for many people that refinement is the difference between a knife that is sharp and a knife that is pleasant to use.
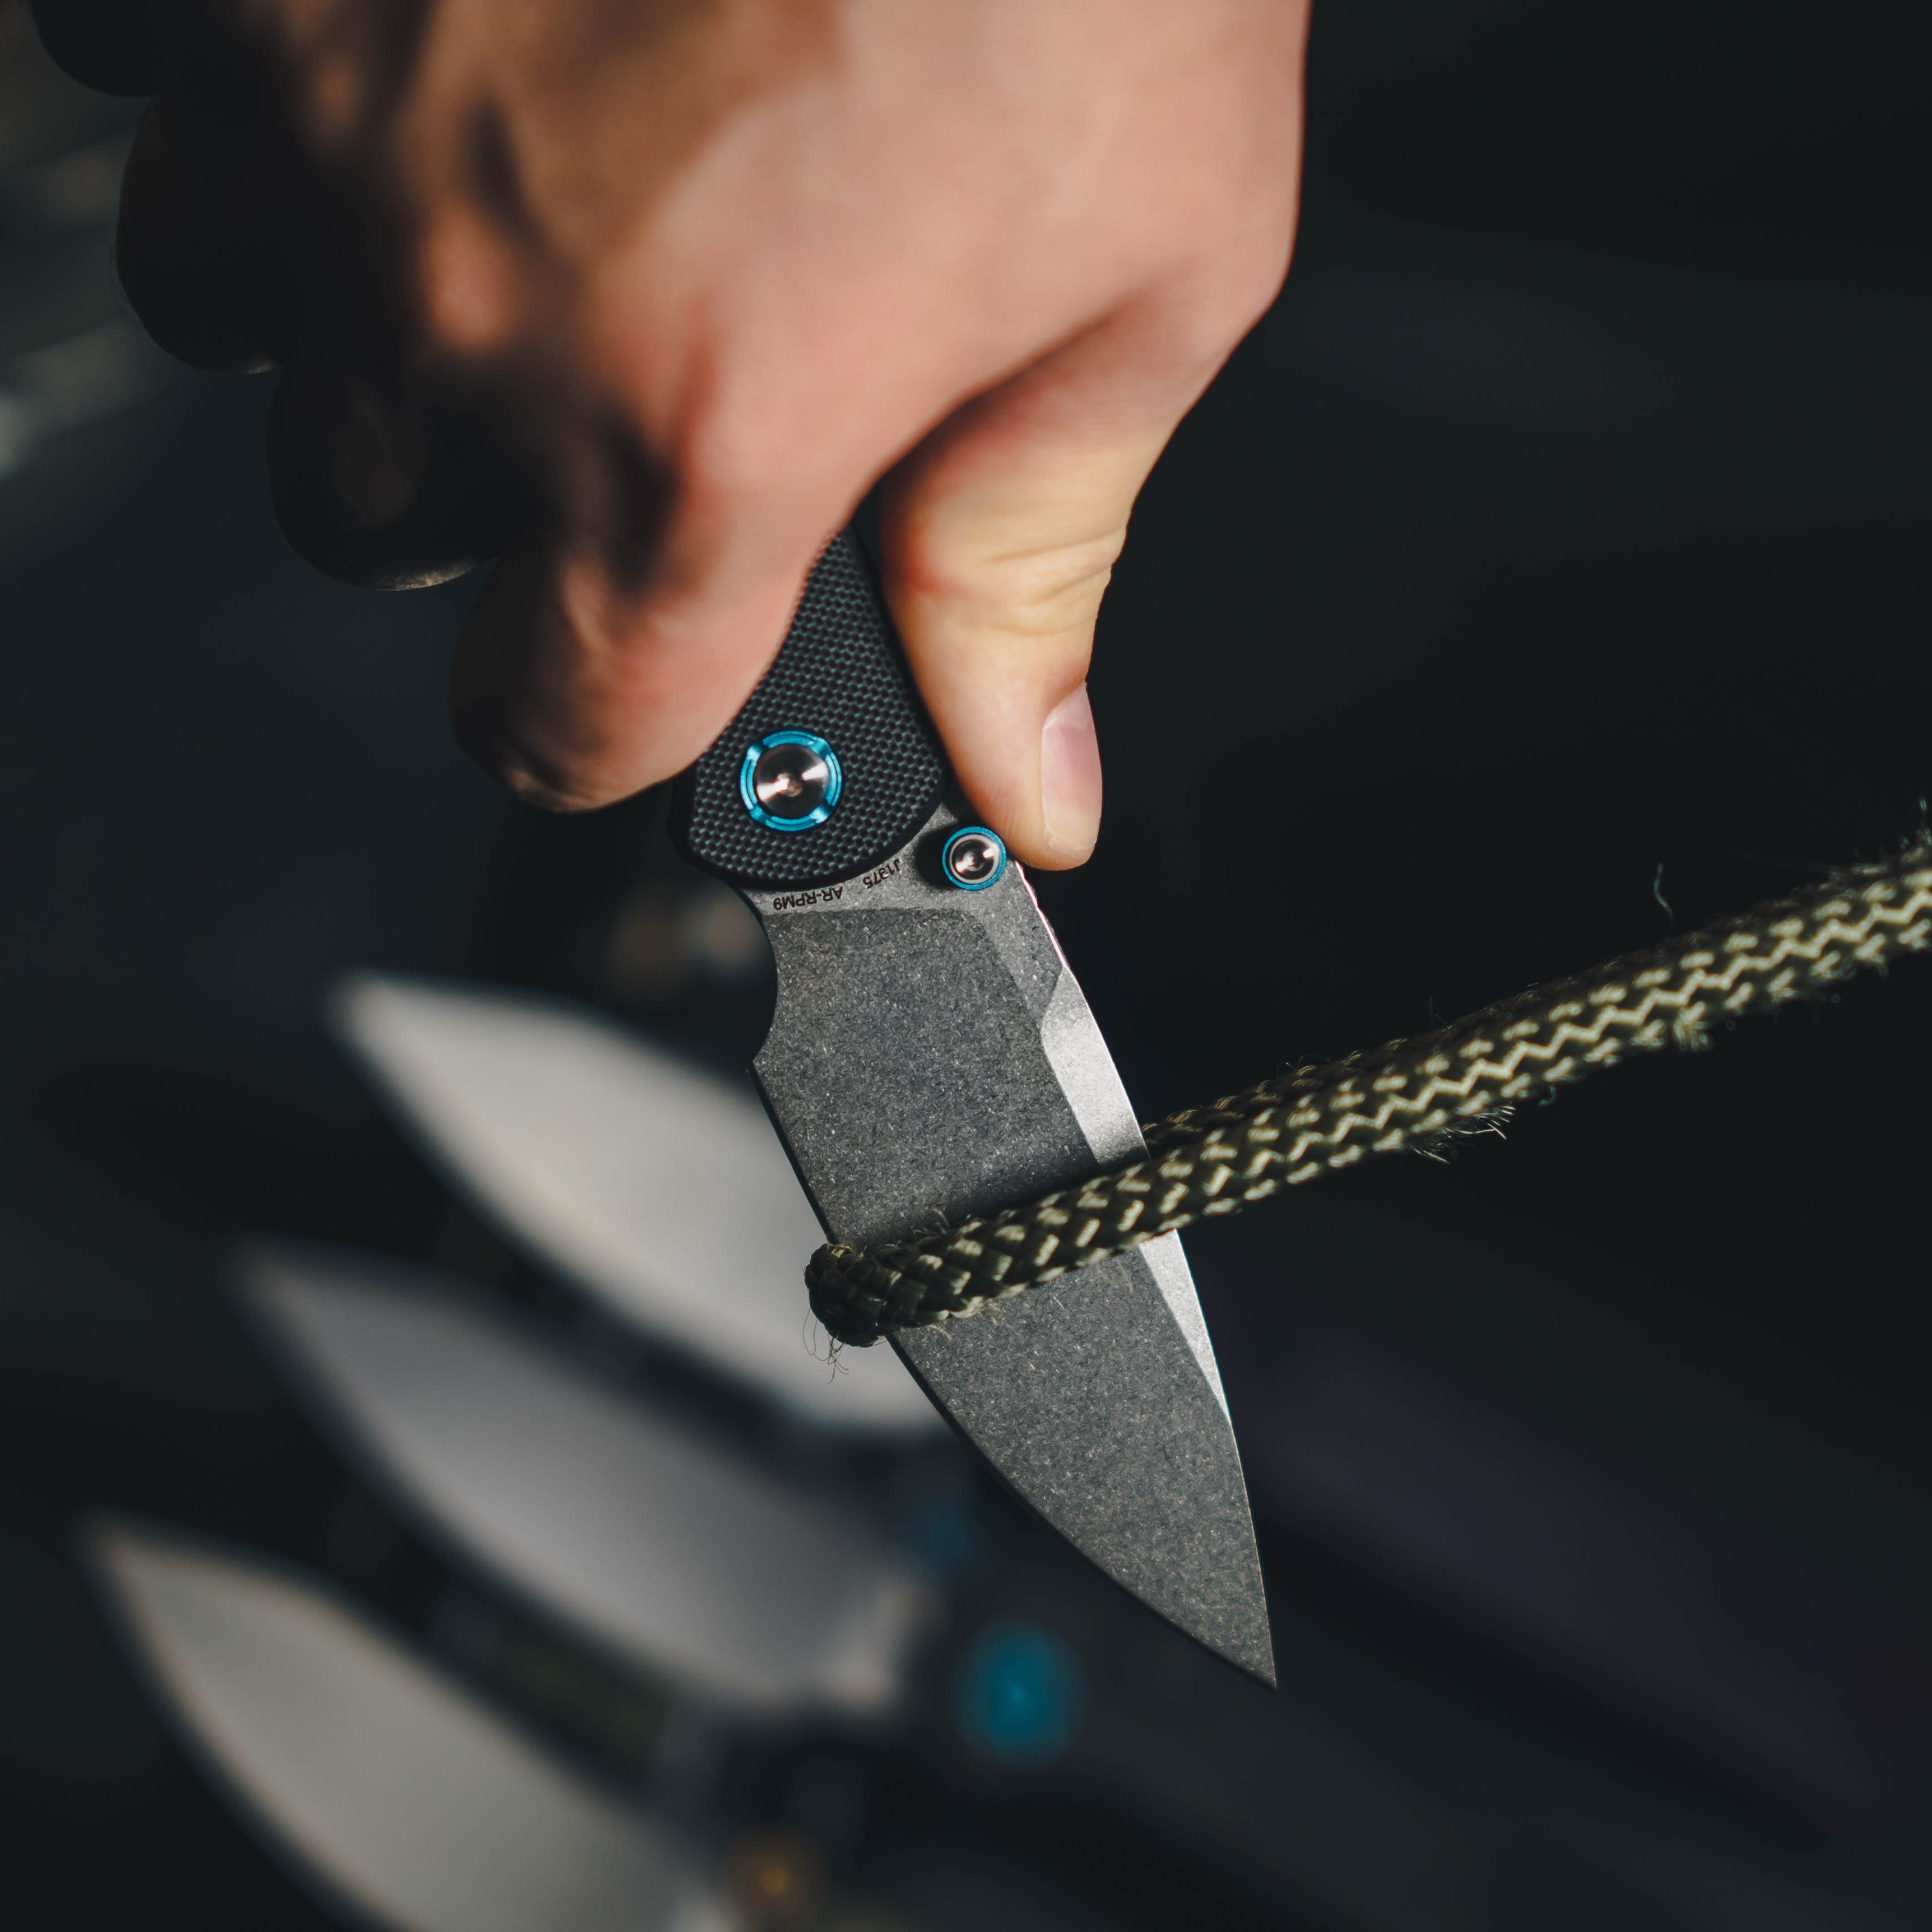
The trade-off is real. A highly polished edge can lose its bite on materials like rope, cardboard, and fibrous produce, where a slightly toothy edge grabs and slices more efficiently. Many experienced sharpeners deliberately stop at a medium or medium-fine finish for working knives and reserve polished finishes for tasks where clean push cutting matters. This is a preference question, not a rule, but it is worth testing on your own knives before you assume finer is always better.
Ultrafine Stones and Strops: The Diminishing Returns Zone
Past the fine range, each additional step buys less improvement and costs more time. Ultrafine stones and loaded strops are about removing the last traces of the burr and aligning the very apex, and they matter most on steels that can support a very thin, stable edge — high-hardness powder steels at relatively acute angles being the classic case.
Strops deserve a separate mention because they are not really a grit step in the same sense. A strop with a fine compound will refine and polish, but used carelessly on a soft steel it will simply round the apex over and leave a knife that looks polished and cuts poorly. If you strop, do it briefly, and use a slightly firmer surface rather than a deeply padded one.
How to Build a Progression That Works
A sharpening progression is just a sequence of grits, each one removing the scratch pattern left by the previous step. A few principles make it practical:
- Start at the coarsest grit that the job requires — and no coarser. A knife that only needs a touch-up should never see a coarse stone.
- Do not skip too far between steps. A common convention is to roughly double the grit number between stages; the reason is simply that each stone needs to remove the previous stone's scratches in a reasonable amount of time.
- Stop when the job is done, not when the sequence is finished. A working knife that is sharp off a medium stone does not need three more steps.
- Match the progression to the steel. Hard, wear-resistant steels take longer on every stone and reward finer finishes, while softer high-carbon steels respond quickly and often do best with a toothier edge.
Our guide to sharpening different knife steels covers how D2, S35VN, M390, and 14C28N respond to the same stones, and edge retention versus toughness versus sharpenability explains why some alloys take twice as long on the same grit.
Stone Types and How They Change Grit Behaviour
The abrasive medium changes the character of a grit rating. Water stones cut fast and wear quickly, releasing fresh abrasive and requiring regular flattening; they are used with water as a cutting fluid. Oil stones wear more slowly and are used with oil, which carries swarf away and keeps the surface from loading. Diamond stones cut any steel including very hard, carbide-rich alloys, and they hold their flatness far longer than a water stone, which makes them popular for the coarse end of a progression. Ceramic stones sit between water and oil stones in behaviour and are popular for fine work and pocket-sized sharpeners.
The cutting fluid is not cosmetic. Its job is to float away the metal particles that would otherwise clog the abrasive, and the wrong fluid on a water stone or an oil stone can affect how the stone cuts. If you want the wider picture of how sharpening fits into knife ownership, knife sharpening as a trade and practice has a long history, and the mechanics of abrasives are well documented in resources such as the sharpening stone and coated abrasive references.
Common Grit Mistakes
- Owning only a fine stone. Without a medium stone you cannot efficiently raise a burr and form a new apex, so you polish a dull edge instead of sharpening it.
- Owning only a coarse stone. You can get a knife cutting again, but the edge will be rough and will dull faster than a properly refined one.
- Jumping two ranges at once. Going from a coarse stone straight to a fine polish leaves deep scratches that show up as a weak, inconsistent edge.
- Never flattening the stone. A dished stone cannot produce a consistent bevel angle, no matter how careful your technique is.
- Counting strokes instead of checking the edge. Progress is measured by the burr and by how the edge cuts, not by how many passes you made.
Most of these appear in our round-up of knife sharpening mistakes. Angle control is the other half of the equation — a perfect grit sequence at an inconsistent angle will still produce a dull knife, which is why we wrote a dedicated guide on choosing the right sharpening angle.
Do You Need a Full Stone Set?
No. For most people carrying a folding knife, a medium stone and a strop cover the overwhelming majority of sharpening sessions, with a coarse stone kept on the shelf for repairs and a fine stone added if you enjoy a polished edge. If you are deciding between buying stones and buying a guided system, our comparison of stropping, stones, and guided systems lays out the trade-offs, and if your stone is already sitting in a drawer and you are not sure how often to use it, how often you should sharpen your EDC knife is the practical companion piece.
Sharpening is also only one part of keeping a knife working. A blade that is cleaned, dried, and lightly oiled holds its edge longer and develops no surprises, as covered in our knife maintenance guide.
Frequently Asked Questions
What grit should I use to sharpen a dull EDC knife?
Start at a medium grit. It removes metal at a workable rate while leaving an edge that is useful for everyday cutting. If the knife is only lightly dull, a medium stone plus a brief strop is usually all it takes.
Is a higher grit always better?
No. Higher grits polish the apex rather than making it sharper, and very fine finishes can reduce cutting aggression on fibrous materials. Choose the finish for the job: a refined edge for clean push cutting, a toothier edge for rope, cardboard, and general utility work.
How do I know when to move to the next stone?
Move on when the current stone has done its job — the bevel is set, the burr runs the full length of the edge, and you have alternated sides to minimise it. If the edge is not yet apexed, moving to a finer stone will not help.
Do I need a coarse stone?
Only if you repair damaged edges or reprofile angles. If you sharpen regularly and your knives stay in good shape, a medium and a fine stone cover everything you need, and the coarse stone earns its place the first time you chip an edge.
Putting It Together
Grit is a description of particle size, not a ranking of quality. A coarse stone is not a worse stone than a fine one; it is a different tool with a different job. Build your set around the jobs you actually have — repair, sharpening, refining — and stop when the edge is sharp rather than when the sequence runs out.
Whichever progression you settle on, the knives in the Artisan Cutlery catalog are built to take a fine edge and hold it: D2 and AR-RPM9 on the entry side, S35VN, M390, and S90V at the top, and every one of them benefits from a consistent, well-understood grit sequence.


Leave a comment
This site is protected by hCaptcha and the hCaptcha Privacy Policy and Terms of Service apply.